Ugh, we have all experienced it… the black mildew that grows on the silicone sealants in bathtubs and showers is a common issue for many homeowners. The constant moisture in bathrooms makes them the perfect breeding grounds for mildew which can degrade silicone sealant, and every couple of years it needs to be replaced to keep it looking fresh.
Although it may seem like a difficult task, removing and replacing silicone sealant is simple and can be completed in a few hours by a professional.
Things to note when replacing old silicone:
- Never apply new silicone sealant over old sealant, especially if the reason you are replacing it is to get rid of the mildew. No matter how much new sealant you apply over the old, you will still have a breeding ground for more mildew.
- If you are replacing the silicone because it has broken away, split or is starting to lift, applying new sealant on top of it will not fix the problem and it will still be prone to leaks in the future.
- If your silicone sealant has split, you should also consider adjusting the position of your shower or bath for a more snug fit that prevents any movement which causes these splits.
- Applying new sealant over old sealant will also look very messy and unappealing, so it is really worth it to spend the extra few minutes removing all of the old sealant first.
How Silicone Sealant is removed
Using a sharp tool such as a craft knife or blade, the old sealant will be completely cut away while being cautious of the surface underneath to prevent any damage.
This process can be achieved mostly with nothing more than the craft knife, but for some of the small fiddly bits it may be necessary to use a white spirit solution to dab at any leftover strands until they dissolve and can be pulled away.
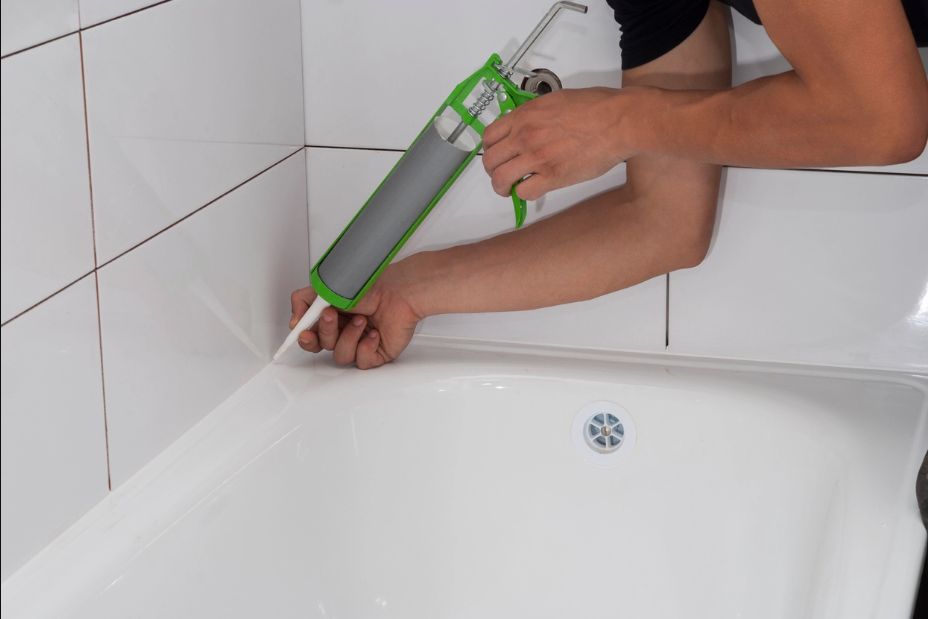
How Silicone Sealant is applied
Once the area is completely clean and clear of any old silicone sealant, it is ready for new sealant to be applied. The new tube of silicone sealant is inserted into a mastic gun; the tip will be cut off around 1cm from the end of the tube to ensure that the flow of sealant is controlled and not overwhelming.
The sealant is then applied at a slight angle along the joins of the area being sealed, leaving a clean trail of sealant. The sealant will then be smoothed into the join and neatened up using a gloved finger that has been run under water. Trying this with a dry finger will create a mess and have sealant stuck to your glove or hands.
Any residue in areas that do not require sealant should be wiped off immediately and then the sealant will be left to dry for at least 24 hours before it can be exposed to wet conditions again.
At Bosman Plumbing we offer professional plumbing services and we are available 24 hours a day, 7 days a week to provide reliable solutions and peace of mind for all of your plumbing needs.
Get in Touch
Email: info@bosmanplumbing.co.za
Tel: 021 705 3969
083 658 1402
083 658 1401